

How To Make Rocks Look Wet
As an Amazon Associate, I earn from qualifying purchases with no additional costs for you.
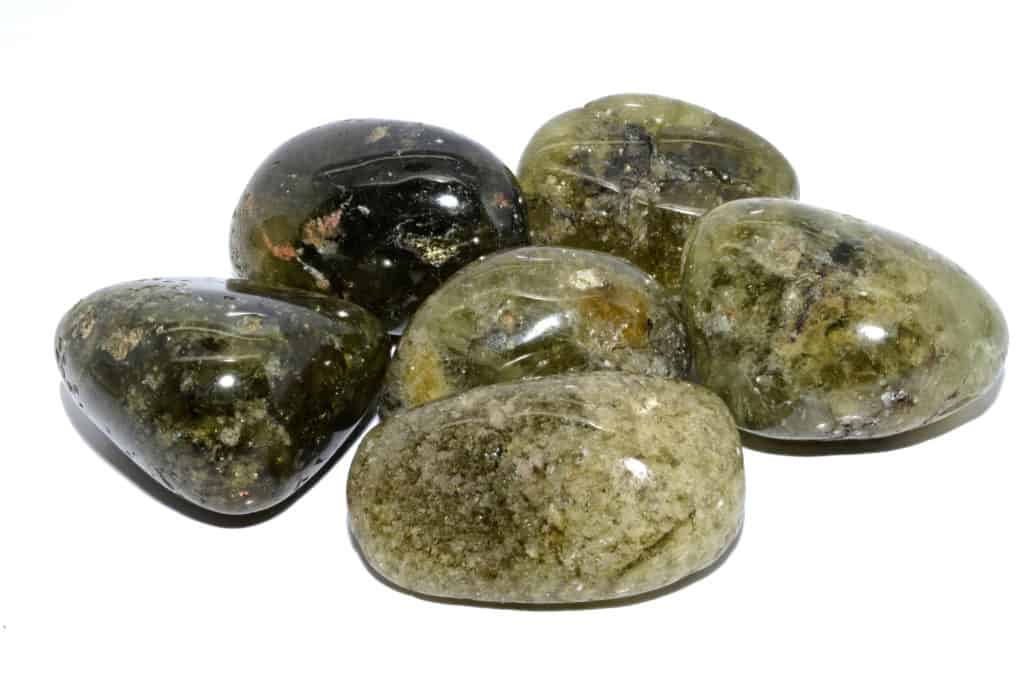
Have the rocks in your collection become duller or less vibrant than they were when you first found, washed, and polished them? It is natural for the energetic colors of rocks and minerals to really pop out when they get wet. It's surprisingly easy to keep that look for years, you just need the right strategy.
Oil and silicon-based solutions such as polyurethane Minwax or other polyacrylic solutions labeled as "sealers" are proven to leave a rock shiny-wet for years but can yellow it after time in UV light. Water-based solutions are preferred for most applications. DIY tricks include clear nail polish, toothpaste, vinegar, and car wax.
Depending on where you display your stones and their material properties, you may be ok using homestyle solutions, or you might need to use a combination of products to achieve a lasting, glassy look.
If you are interested in checking out the best solution for making your rocks look wet you can find them by clicking here, here, and here (Amazon links).
Oil Solutions
Oil works very well for keeping rocks looking wet. Chemists love producing oil products because they can achieve some things that water and other environmentally friendly materials really cannot. For making rocks look wet, oil can produce a stunning, long-lasting end-product.
But the wetness you want comes from water, so why should oil be able to do that?
Well, the main idea is to soak the solution into the pores of the rock, and then make sure there is some oil as a sealant to prevent the water from leaking out.
Therefore, you should always look for water-based artificial oil solutions, rather than just oil itself. These can produce an artificial shine and take away from the beautiful rocks, so I will not recommend any of those mixes here.
Oil solutions are the baseline when it comes to wet rocks. There are many commercial-grade products used for landscaping that accomplish this same purpose – making rocks look wet.
A product in this category will work most of the time, but it may need a little extra (look further for resin sprays) if the application:
- receives a lot of UV light,
- includes some rocks which have very few pores, or
- face harsh exterior conditions such as wind and rain.
When you apply these oil products, do not forget to do so in an outdoor environment, especially if they are in spray form. Many say odor-free, but the odor is just one of the things you do not want in your lungs!
- Polyurethane Mixtures
Polyurethane mixtures are the most popular form of oil coating used for this purpose. Some sources site coatings like this to last for 15 years, which is very good in comparison with other solutions, especially homemade solutions.
These products (Amazon link) can be water-based – but you'll want to look especially for water-based versions because they aren't always labeled in the clearest fashion.
You will find this type of product in the paint or outdoors section in the hardware store, and it usually takes the form of a spray or paint can.
While water-based, anything this unnatural tends to discolor in harsh UV light. However, it will discolor more slowly and less noticeably than products that aren't water-based.
- Natural Oils
Environmentally minded and curious rockhounds, while still being serious about a glossy finish for their stones, will opt for the second option – the natural oil. The main problem with most kitchen oils is that they tend to chemically break down after some time.
Jojoba oil (Amazon link) is the popular natural oil for rock polishing because it's actually wax and is a bit more stable than cooking oils. You may have never heard of this oil, but it is around and typically used for skincare and other organic treatments.
When using an oil like this, it may be tempting to apply water before the oil. On the contrary, make sure to dry the stone thoroughly before soaking stones in a natural oil – the oil is repelled from the rock's pores if there is water inside and the shine will not last as long, as a result.
TIP: Before you start applying some of the methods mentioned in this article, you need to make your rocks clean. Find out more about five simple ideas on how to clear your rocks and minerals in the article below:
How to Clean Your Rocks and Minerals: 5 Simple Ideas
Other Manufactured Products
- Silicon Aerosol
Silicon products are great for this application and widely available too. The main disadvantage of these products is that they last for only around a year. For small batches of rock, this is doable, especially if the rocks are meant to be displayed outside.
These are usually sold as aerosol sprays and you can find them in the paint section of a hardware store. I personally recommend buying this water-resistant silicone spray (Amazon link).
- Resin or Gloss
Resin is a material that is highly resistant to exterior conditions. For this reason, it is a great material for applying after other products which are better for creating a wet look. Think of a resin gloss (Amazon link) as the sealant you put on a wood door to keep the color from fading.
Many rockhounds with serious collections use this after a polyacrylic, water-based solution to achieve results that last reliably over 10 years.
The trick with these is that you must find one which is suited for the circumstances which will face the rocks you want to apply it to. For instance, resins sold for indoor use will discolor quickly if left outdoors for too long. Resins are also called glosses by some manufacturers.
These typically come as a pour-on solution. For smaller rocks, the best way to do this is to let the rocks soak for a while.
For larger ones, there are clothes made specifically for the application of resin, so do not forget to pick up one of those if you have a landscape decoration style rock that you'd like to permanently wet.
TIP: Did you ever heard about dyeing rocks with food colors? Well, this activity is quite popular among people. Find out more about this interesting activity in the article below:
How to Dye Rocks with Food Coloring? Follow These 5 Steps
Homestyle Remedies and DIY Ideas
If you are a do-it-yourself (or make-it-yourself) type, there are many ideas for things to use to put a shine on rocks, which you may or may not have to lay around the house. I'll take you through a few of them and cover some pros and cons of each.
Some advice before we start with the homemade remedies – make sure that you've polished your stones with the finest grit available, whether in the tumbler, with sandpaper, or with a Dremel, before you get started with solutions. Quartz and other hard minerals will take on a naturally wet look once they are sufficiently polished.
- Vinegar and Baking Soda
You may have heard of people cleaning jewelry, and quite a lot of other things, with vinegar and baking soda. Not surprisingly, there have been mixed results using this to make rocks look wet.
Vinegar cleans things by reacting with dirt and other impurities, breaking them off their host and therefore making the product look cleaner, smoother, and more attractive.
The problem is that a rock's wet look comes only in part from the absence of impurities. You may have experienced the fact that you can sand and polish a rock perfectly and still not achieve the shine which comes when it's wet.
Vinegar will help to remove impurities, and therefore make the rock shinier, but it will not stay long in the pores of the rock and will leave it with its dry appearance just days afterward.
- Car Wax
Car wax actually works really well to polish rocks. Just get a rag (not the one you use to wax your car!), apply a dab of wax, and buff it on the rock.
The main caveat to using car wax is that the rock must be seriously smooth for the wax to rub on very well. Other liquid solutions are better for rocks that are coarser.
Another great way of applying this material is using a Dremel with a buffing attachment, dipping it in the wax, and carefully using the powerful tool to get into all the crevices of the rock. This will make for a wholly wet appearance.
TIP: Dremel drill is a great tool for polishing rocks. If you are interested in polishing rocks with dremel drill, check out the article below and follow these four simple steps:
How to Polish Rocks With a Dremel Drill? Follow These 4 Steps
- Clear Fingernail Polish, Toothpaste, and More
Many claims that, among its varied uses, clear fingernail polish will keep a wet shine in a rock. Because it's just oil and acid as well, it has some similar properties to the manufactured solutions I've already recommended.
Because of this, it may be fun to try this out, but there is not enough evidence supporting this solution to back it completely.
Toothpaste is a bit more of a stretch but has been fabled to create a lasting wet look on rocks. Toothpaste has proven to be a good cleaning tool, like vinegar, so it's possible that it's able to remove enough impurities on your stones to make them look shiny. Give this one a shot, but do not forget to floss them too!
Conclusion
To wrap it up, don't be afraid to go out and buy a commercial solution for this one. Displays can be made that much better by the color pop achieved by a permanently wet-looking rock.
Many products are water-based and not too harmful to the environment, as well as cheap, widely used, and proven in landscaping applications.
TIP: Dremel drill can be used not for polishing rocks only but also for cutting rocks. So what are the best dremel drills? Check out the three best dremel drills in the article below:
3 Best Dremels for Polishing Rocks & Crystals + Accessories
How To Make Rocks Look Wet
Source: https://howtofindrocks.com/what-to-put-on-rocks-to-make-them-look-wet/#:~:text=DIY%20tricks%20include%20clear%20nail,achieve%20a%20lasting%2C%20glassy%20look.
Posted by: billingsmajoyartabot.blogspot.com
0 Response to "How To Make Rocks Look Wet"
Post a Comment